
Now that we have the wish tags printed we can begin embossing the other side of the tags.
1. I was really hoping that I could find sparkly black embossing powder. Unfortunately I could not find any so I opted to buy black and sparkly embossing powder separately. I then mixed them together to obtain the look I was trying to achieve.

2. The first thing you need to do when beginning to emboss is to take your rubber stamp and press it firmly into the embossing ink pad. Just a quick side note before we proceed. Before learning how to emboss, I assumed all ink pads would work. That is not true, you have to buy an ink pad that specifies that it is used for embossing.

3. Now you need to position the stamp on the center of the tag. Press down firmly on the entire surface of the stamp to evenly distribute the ink on the tag. After you take the stamp off you won't be able to see the design very well because the ink is clear. Don't freak out, it is suppose to be that way.

4. Put the tag on a plate or something that can catch the extra powder. You need to quickly pour your embossing powder on top of the ink before it dries. Make sure to cover it very well.


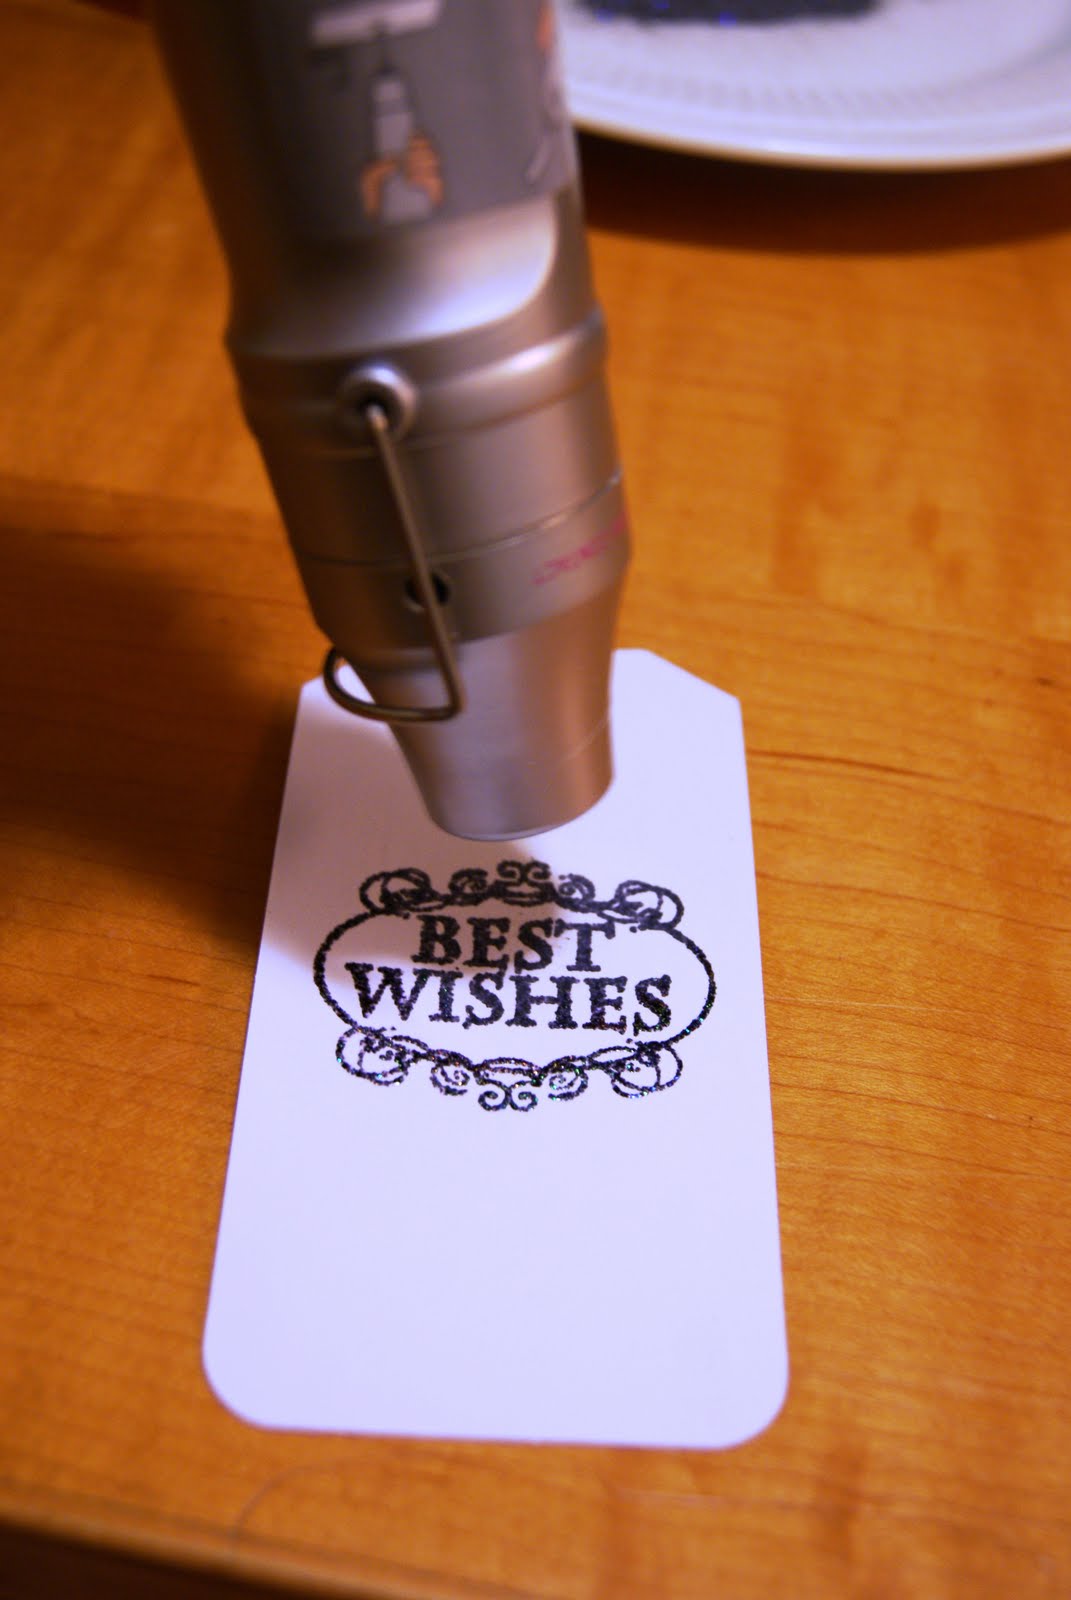
6. Now it is time to grab that embossing heat tool and get to work blow drying the design. The key is to move the embosser in a circular motion and to evenly distribute the heat. Be careful to not keep it on there too long or too close to the tag because it will burn. You will know when it is finished because the design will be perfectly raised.
Here is a closeup view of the embossing. It is slightly hard to tell in photos, but if feel you feel it with your finger it will have loads of texture.

7. The last step is to tie the top with a pretty ribbon, and you are finished!


Now don't get me wrong, I love how these turned out. However I feel like they are lacking some color. Before I get started on constructing the tree aspect of this project, I need to perfect these tags. I am going to tweak the color palette a little until I get exactly what I am looking for. Which means I will be updating soon with hopefully a revised version of these wish tags.
Have you ever tried embossing?
Did it take you a few tries to get it exactly right?
No comments:
Post a Comment